Introduction
Adding a logo to dumbbells or weight plates is not one universal printing task. The correct method depends on the product material, surface geometry, expected handling, number of colors, order quantity, tooling, target price, and how the range will be replenished. A mark that works on a flat steel plate may not be appropriate on a textured rubber head.
For private-label buyers, the commercial decision is broader than appearance. Branding can affect molds, sample lead time, minimum quantities, unit cost, packaging, inspection, and future color matching. The safest process starts with the exact product model and intended market, then compares feasible methods. This guide describes common options without claiming that every method is available on every PowerBaseFit product.
Quick Answer
Use molded or in-mold branding when the logo should become part of a rubber, PU, TPU, or bumper-plate surface and the volume supports tooling. Consider pad printing, screen printing, or approved paint systems for suitable surfaces when lower setup and multicolor flexibility matter. Laser engraving or mechanical marking may fit exposed metal components. Badges, inserts, decals, sleeves, labels, and branded cartons can add identity where direct marking is limited.
Ask the manufacturer to confirm the process for the selected model, sample, MOQ, tooling ownership, color reference, abrasion expectations, cleaning compatibility, placement limits, and repeat-order control. Approve the logo together with the weight marking and packaging, not as an isolated graphic.
Definition: Product Branding vs Private Label
Product branding is the visible application of a name, symbol, weight, or design to the equipment. Private label is the wider program in which products, markings, colors, packaging, documentation, and sales presentation are supplied for the buyer's brand. A logo method is one component of private label.
OEM customization may use an existing product design with buyer branding, while more extensive changes can involve new molds, geometry, materials, or tooling. The terminology should not replace a clear scope. The quotation must state exactly what changes and what remains the manufacturer's standard model.
Start With the Product Material
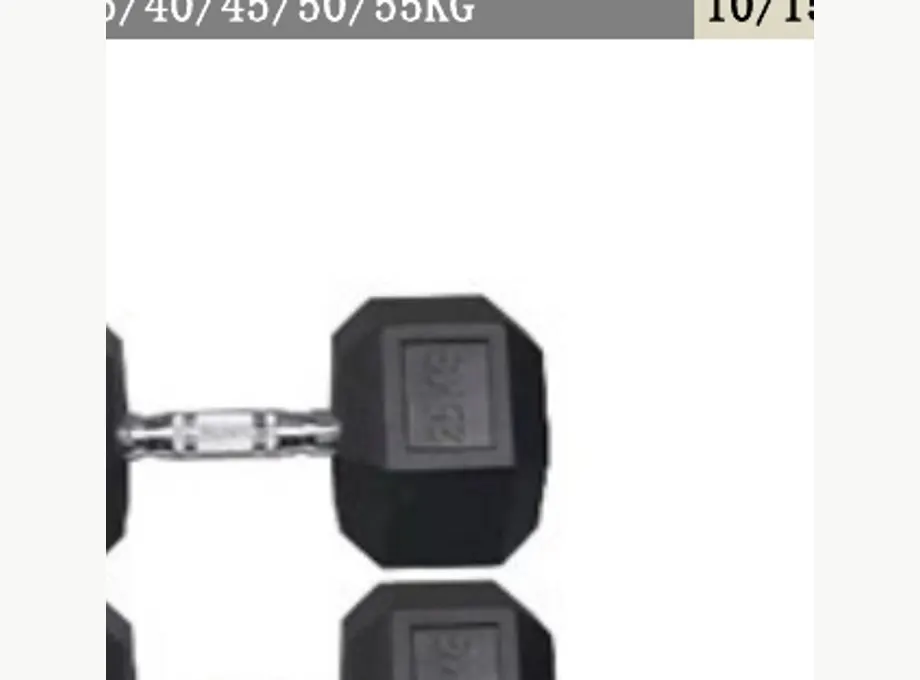
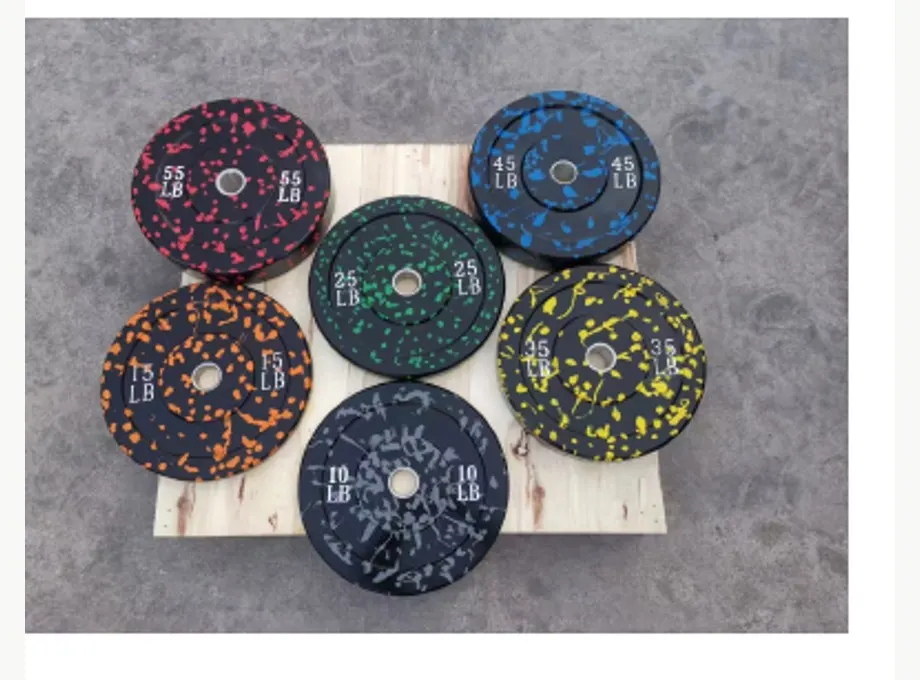
Rubber surfaces can be textured, curved, flexible, and affected by release agents or material behavior. PU and TPU may allow crisp molded details or controlled color areas, but mold design and process matter. Painted, chromed, or bare metal offers different adhesion and engraving possibilities. Coated iron or steel plates require a method compatible with the coating.
Ask for the material and finish of the actual offered model. “Rubber dumbbell” is not enough to choose a logo process. Head shape, available flat area, curvature, seam, draft angle, mold ownership, and existing weight markings can constrain the design.
The buyer should also define cleaning products, indoor environment, expected abrasion, and whether the equipment will be dropped or stacked. These use conditions help set a realistic approval test.
Molded and In-Mold Logos
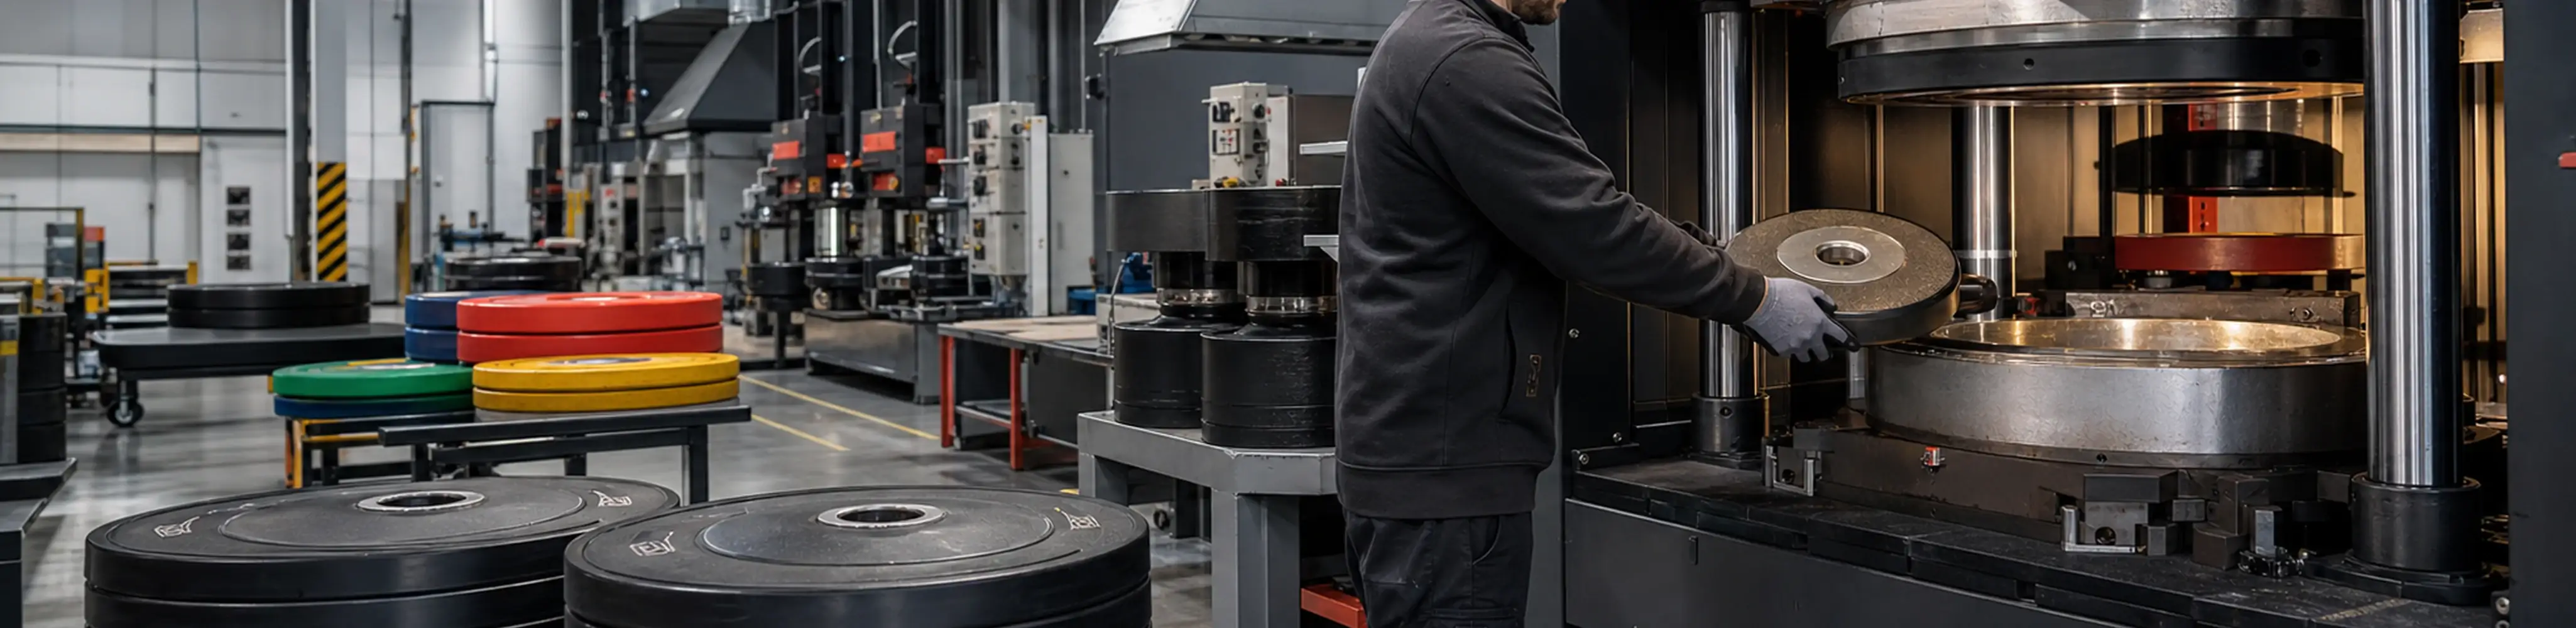
A molded logo forms during the manufacturing process. It may be raised, recessed, integrated into a colored area, or combined with a separate fill or insert depending on construction. Molded marks can create a durable, product-integrated appearance and consistent placement.
The trade-off is tooling. A new logo insert or mold may require setup cost, minimum quantity, longer sample preparation, and separate tooling across different head or plate sizes. A logo that fits a large bumper plate may need redesign for a small dumbbell head. Fine lines and tiny text may not reproduce well.
Before ordering tooling, approve a dimensioned placement drawing. Confirm who owns and stores the tool, how it is identified, expected maintenance, and whether a new tool is required for each nominal weight. Review how a future logo update would be managed.
Printed and Painted Marks
Pad printing can transfer an image to certain curved or uneven surfaces. Screen printing can support larger areas on suitable geometry. Paint fill may add contrast to molded or engraved details. The exact ink, paint, pretreatment, curing, and adhesion depend on the substrate.
Printed methods can reduce product-specific tooling and support multiple colors, but they may be more exposed to abrasion, cleaning chemicals, impact, and surface contamination. Durability should be tested using an agreed method that reflects intended handling. A casual fingernail test is not a complete commercial standard.
Request a sample on the actual material and finish. A print that adheres to one rubber or coating may not behave the same on another. Establish acceptable edges, color coverage, registration, and cosmetic variation.
Laser Engraving and Mechanical Marking
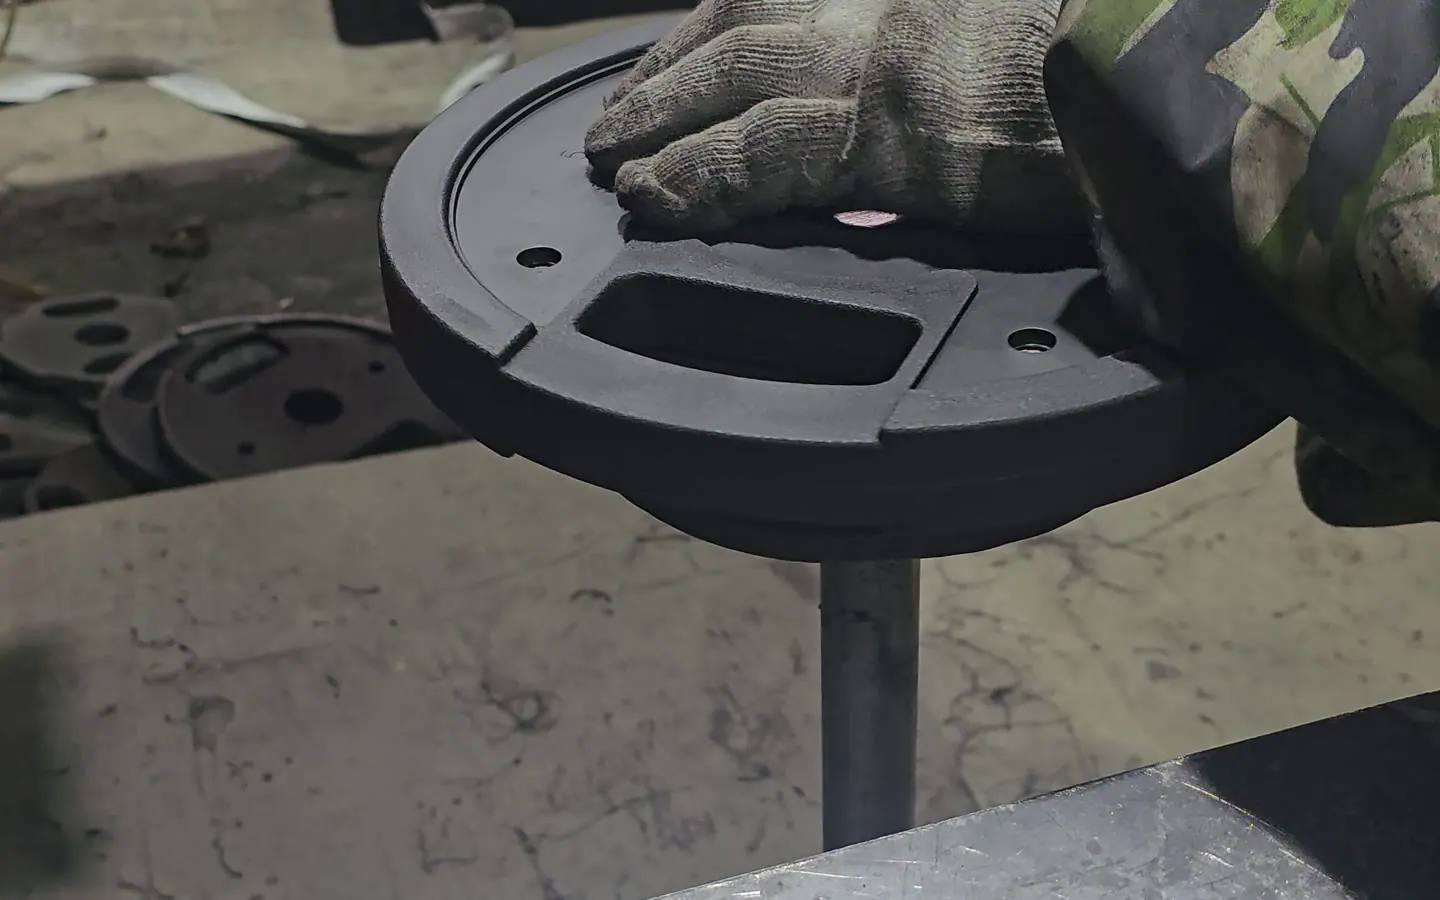
Laser engraving can create a permanent contrast or relief on compatible metal parts. It may suit handles, end caps, steel plates, plaques, or other exposed components. Result color and contrast depend on the metal and finish. Engraving through a protective coating can also affect corrosion behavior, so the full system needs review.
Mechanical engraving, stamping, embossing, or machining may be considered for particular components and volumes. These methods can offer durable identification but may require fixtures, cycle time, and sufficient material thickness. They are not automatically appropriate for load-bearing or finished surfaces.
Approve location and depth to avoid affecting grip, comfort, fit, structural features, or protective coatings. Ask the factory to confirm feasibility rather than specifying a process solely from a competitor image.
Badges, Inserts, Decals, and Applied Elements
Separate badges or medallions can create a premium visual area and support color or relief. They require secure attachment, dimensional control, and impact consideration. An insert that becomes loose is a quality issue, so attachment and inspection need definition.
Decals and labels can be appropriate for packaging, racks, protected areas, or short-term identification. Their suitability on frequently handled free weights depends on substrate, edge protection, adhesive, and use. A decorative sticker should not be represented as equivalent to integrated molded branding.
Sleeves, end caps, printed bands, and rack plaques can extend the brand system even when direct product marking is limited. Evaluate them as components with their own replacement and inspection plan.
Compare Branding Methods
| Method | Typical strength | Main constraint | Buyer should confirm |
|---|---|---|---|
| Molded / recessed | Integrated, repeatable position | Tooling and size-specific layout | Mold, MOQ, detail, ownership |
| In-mold color / insert | Strong visual identity | Process and component complexity | Fit, color, attachment, sample |
| Pad or screen print | Flexible artwork and lower tooling | Surface adhesion and abrasion | Ink, pretreatment, curing, test |
| Paint fill | Contrast in molded/engraved areas | Coverage and wear | Color, edge, curing, cleaning |
| Laser / engraving | Durable metal identification | Material and coating compatibility | Contrast, depth, corrosion review |
| Badge / plate | Premium multicolor area | Attachment and impact | Fixing method, fit, spare plan |
| Packaging / labels | Broad communication space | Does not brand the product itself | Language, barcode, legal review |
This table is a decision framework, not a promise of availability. The factory must confirm the selected product and order.
Coordinate Logo, Weight Marking, and Color
The logo competes for space with nominal weight, kg or lb unit, product line, and required markings. Build one layout that shows all elements. A large logo may reduce weight readability; a complex two-color mark may increase registration risk on small heads.
Use vector files and controlled color references. Define whether the product uses brand colors, weight-coded colors, or a neutral body with colored markings. Consider how the system works across the complete range and how users identify weights at a distance.
For international distribution, decide whether one design carries kg and lb, or separate market versions are produced. More versions increase SKU and artwork control. Review packaging and barcode data at the same time.
Plan MOQ, Tooling, Samples, and Reorders
MOQ can depend on product model, material batch, logo process, mold, color, and packaging. Do not ask for one universal private-label MOQ. Provide the weight list and quantity by weight so the manufacturer can assess each process.
Separate sample fee, logo tool, product tool, color setup, artwork, and branded packaging. Confirm whether any fee is credited after production and under what conditions. Record tooling ownership, storage, identification, and change policy.
For reorders, retain approved artwork, color reference, sample, process details, and product specification. Ask how the factory will manage a material or process change. Repeat-order consistency should be an explicit quality requirement, while acknowledging that some materials have controlled batch variation.
Define a Practical Approval Test
Inspect spelling, proportions, color, position, orientation, edge quality, contrast, adhesion or integration, and relation to weight markings. Review low, medium, and high weights when geometry changes. Photograph under controlled conditions and record the sample revision.
Durability testing should reflect the method: abrasion, cleaning, adhesion, handling, impact, or environmental conditioning may be relevant. Define equipment, number of cycles, chemicals, force, and acceptance before testing. Avoid marketing claims such as “never fades” unless supported by a defined verified basis.
Final inspection should compare production with the approved sample and artwork. Check cartons and labels to prevent one brand or weight version from being packed into another.
Buyer Checklist
- Select the exact product model, material, finish, and weight range.
- Define brand objective, colors, target market, and expected handling.
- Provide vector logo and dimensioned placement preference.
- Combine logo, weight, unit, and required markings in one layout.
- Ask the factory to compare feasible methods for the actual surface.
- Confirm MOQ, tooling, samples, preparation time, and unit impact.
- Record ownership and storage of buyer-funded tools.
- Approve representative sizes when geometry changes by weight.
- Agree color standard and process-specific durability checks.
- Review product, packaging, barcode, and labels together.
- Retain files, physical references, and process data for reorders.
- Require approval before substitutions or branding-process changes.
Factory Perspective
Manufacturing feasibility depends on how the logo interacts with molds, surface preparation, curing, coating, assembly, and inspection. The factory should flag artwork that is too fine, an area that is too curved, or a color arrangement that cannot be repeated reliably at the requested quantity.
PowerBaseFit evaluates custom logo options for dumbbells and weight plates by model. Available processes, MOQ, sample, tooling, color, cost, and timing are confirmed after receiving the product list and artwork. The approved reference can then guide first-piece review, production checks, and packing reconciliation.
Early technical review is cheaper than changing a tool after the logo has been cut. Buyers should send the final vector file and market requirements before sample authorization.
Conclusion
The best logo method is the one that fits the product material, brand objective, volume, use, and reorder plan. Molded branding can offer integration; printing can offer flexibility; engraving can suit compatible metal; badges and packaging can extend the system. None is universally superior.
Choose the product first, then provide weight range, quantities, logo files, colors, destination markets, packaging, and durability expectations. Request a logo feasibility review from PowerBaseFit to confirm model-specific options before approving tooling or samples.
Frequently Asked Questions
Which logo method is most durable on dumbbells?
Durability depends on material, construction, process, use, and test method. Integrated molded marks can be robust, while suitable printing or engraving may also perform well on compatible surfaces. Confirm with a product-specific sample.
Does every dumbbell weight need a separate logo mold?
It depends on mold design and logo location. Different head sizes or plate layouts may require separate inserts or adjusted artwork. Ask for a tooling matrix across the complete range.
Can a multicolor logo be applied to rubber free weights?
Possible methods depend on the rubber, geometry, colors, order quantity, and durability requirement. The factory should recommend a process and prepare a representative sample before production.
Who owns custom logo tooling?
Ownership must be stated in the quotation or agreement. When the buyer funds tooling, document identification, storage, permitted use, maintenance, and what happens when artwork changes.
Can packaging provide private label if the product is unbranded?
Yes, packaging can carry the brand and commercial information, but it does not create permanent product identification. Decide whether this is acceptable for the channel, warranty, replacement, and user experience.